🛡️ mTLS with Traefik: A Step-by-Step Guide 🚀
A demo going through the setup of mTLS on Traefik
Introduction - mutual TLS
In the world of web security, mTLS (mutual TLS) stands as a robust method for ensuring two-way authentication between a client and a server. This guide dives into setting up mTLS with Traefik, ensuring your connections are not just secure, but mutually trusted. 🌐🔐.
Why mTLS?
mTLS goes a step beyond standard TLS by requiring both the client and server to verify each other's identity as well as making sure traffic is secure and trusted in both directions between a client and a server. This is crucial for secure network access and verifying non-login client devices. 🔄
This provides an additional layer of security for users who log in to an organization’s network or applications. It also verifies connections with client devices that do not follow a login process.
How mTLS works?
Normally in TLS, the server has a TLS certificate and a public/private key pair, while the client does not.
In mTLS, however, both client and server have a certificate, and both sides authenticate using their public/private key pair. Compared to regular TLS, there are additional steps in the mTLS to verify both parties:
🖥️ The client connects to the server.
📜 The server presents its TLS certificate.
🔍 The client verifies the server’s certificate.
📄 The client then presents its TLS certificate.
✔️ The server verifies the client’s certificate.
✅ Access is granted.
🔄 Secure, encrypted communication begins over an encrypted TLS connection.
Demo 🧰 🛠️
Prerequisites
Familiarity with load balancers (L7) and reverse proxies
Familiarity with Traefik & Smallstep.
Basic understanding of TLS & mTLS.
Install stepCLI, DNSMasq & Traefik via Brew (if using macOS)
Clone the repo code to follow along » https://github.com/moabukar/playground/tree/main/traefik-mTLS
Configuring Certificates and Hosts
Edit the Hosts File: Add these
127.0.0.1 localhost mo.test server.test ca.test🏠
localhost: The default entry.🔐
ca.test: For the CA (Certificate Authority).🖥️
mo.test: For the Traefik dashboard.🌐
mo.ab: For local app access.
Create a DNS server locally (the hard way) — use dnsmasq for macOS.
brew install dnsmasq

vi /usr/local/etc/dnsmasq.conf

Edit dnsmasq Configuration: Open /usr/local/etc/dnsmasq.conf in a text editor and add your custom DNS settings. For example, to resolve .test domains to your local machine, add:

address=/.test/127.0.0.1

brew services start dnsmasq
----
Configure your macOS to Use dnsmasq

- Open System Preferences: Go to System Preferences > Network.

- Select Your Network: Choose your active network interface (like Wi-Fi) and click Advanced.

- Add DNS Server: Go to the DNS tab and add 127.0.0.1 as a DNS server. This will direct DNS queries to your local dnsmasq instance.

- Apply Changes: Click OK, then Apply to save the changes.

---
Then test it

dig mo.test
or
dig mo.test @127.0.0.1
Initialize the Step CA:
step ca init --profile=test.ca --context=test.ca

? What deployment type would you like to configure?:
Use the arrow keys to navigate: ↓ ↑ → ←
✔ Deployment Type: Standalone
What would you like to name your new PKI?
✔ (e.g. Smallstep): Test
What DNS names or IP addresses will clients use to reach your CA?
✔ (e.g. ca.example.com[,10.1.2.3,etc.]): localhost,ca.test
What IP and port will your new CA bind to? (:443 will bind to 0.0.0.0:443)
✔ (e.g. :443 or 127.0.0.1:443): :54321
What would you like to name the CA's first provisioner?
✔ (e.g. you@smallstep.com): mo@example.com
Choose a password for your CA keys and first provisioner.
✔ Password: <...>
✔ Password: <...>
Generating root certificate... done!
Generating intermediate certificate... done!
Add a Provisioner for ACME Protocol: Necessary for Traefik.
step ca provisioner add acme --type ACME --x509-min-dur 1h --x509-default-dur 9490h1m0s --x509-max-dur 9490h1m0sInstall the Root Certificate Locally:
step certificate install /Users/mohameda/.step/authorities/test.ca/certs/root_ca.crt

## add system password ^
Start smallstep CA server
step-ca --context=test.caSetting Up Traefik
Install Traefik: Use a package manager like
brew.Configure
static.ymlanddynamic.yml: Set up your routing and TLS options.🛠️ Include
entryPoints,certificatesResolvers, andtlsconfigurations.
providers:
  file:
    directory: /etc/traefik/conf
    watch: true
  http:
    endpoint: http://host.docker.internal/config

ping:
  entryPoint: "traefik"

entryPoints:
  http:
    address: ":80"

  https:
    address: ":443"

# API and dashboard configuration
api:
  insecure: true
  dashboard: true

accessLog:
  bufferingSize: 100
  filePath: log-access.log

log:
  filePath: log-file.log
  level: DEBUG

serversTransport:
  insecureSkipVerify: true
certificatesResolvers:
  local:
    acme:
      caserver: https://ca.test:54321/acme/acme/directory
      storage: acme.json
      httpChallenge:
        entryPoint: https


metrics:
  prometheus:
    addRoutersLabels: true
Setup dynamic.yml
http:
  routers:
    dashboard:
      rule: "Host(`mo.test`)"
      service: "noop@internal"
      entryPoints:
        - "http"
      middlewares:
        - "secured-redirect"
    dashboard-secured:
      entryPoints:
        - "https"
      rule: "Host(`mo.test`)"
      service: "api@internal"
      tls:
        certResolver: "local"
        domains:
          - main: "mo.test"

    moab:
      rule: "Host(`mo.ab`)"
      service: "noop@internal"
      entryPoints:
        - "http"
      middlewares:
        - "secured-redirect"
    moab-secured:
      entryPoints:
        - "https"
      rule: "Host(`mo.ab`)"
      service: "example-service"
      tls:
        certResolver: "local"
        options: acmeClient
        domains:
          - main: "mo.ab"

  middlewares:
    secured-redirect:
      redirectscheme:
        scheme: https
        permanent: true

  services:
    example-service:
      loadBalancer:
        passHostHeader: true
        servers:
          - url: "http://localhost:8080/"

tls:
  options:
    acmeClient:
      clientAuth:
        caFiles:
          - /Users/mohameda/.step/authorities/test.ca/certs/root_ca.crt
# the path of root certificate might be like below:-
# Users/<User_name>/.step/authorities/test.ca/certs/root_ca.crt
        clientAuthType: RequireAndVerifyClientCert

log:
  filePath: log-file.log # relative to current location, will be created
  level: DEBUG
Create Symlink for
dynamic.yml:
sudo ln -s $(pwd)/dynamic.yml /etc/traefik/conf/dynamic.ymlStart Traefik
traefik --configfile=./static.ymlCreating Certificates for mTLS Connection
Generate Client Certificate:
step ca certificate client client.crt client.key --set emailAddresses=mo@example.com --context=test.ca --size=4096 --kty=RSA

## if you run the above, make sure the CA server is running!! (step-ca --context=test.ca)

use the provisioner created previously to create a certificate for the client. (Provisioner: mo@example.com (JWK))
create a .p12 — pkcs12 bundle:
step certificate p12 client.p12 client.crt client.keyAs you can see the site cert is verified using the cert we created.
Note: TLS works with Safari fine but there’s an issue with Chrome (need to look into this)
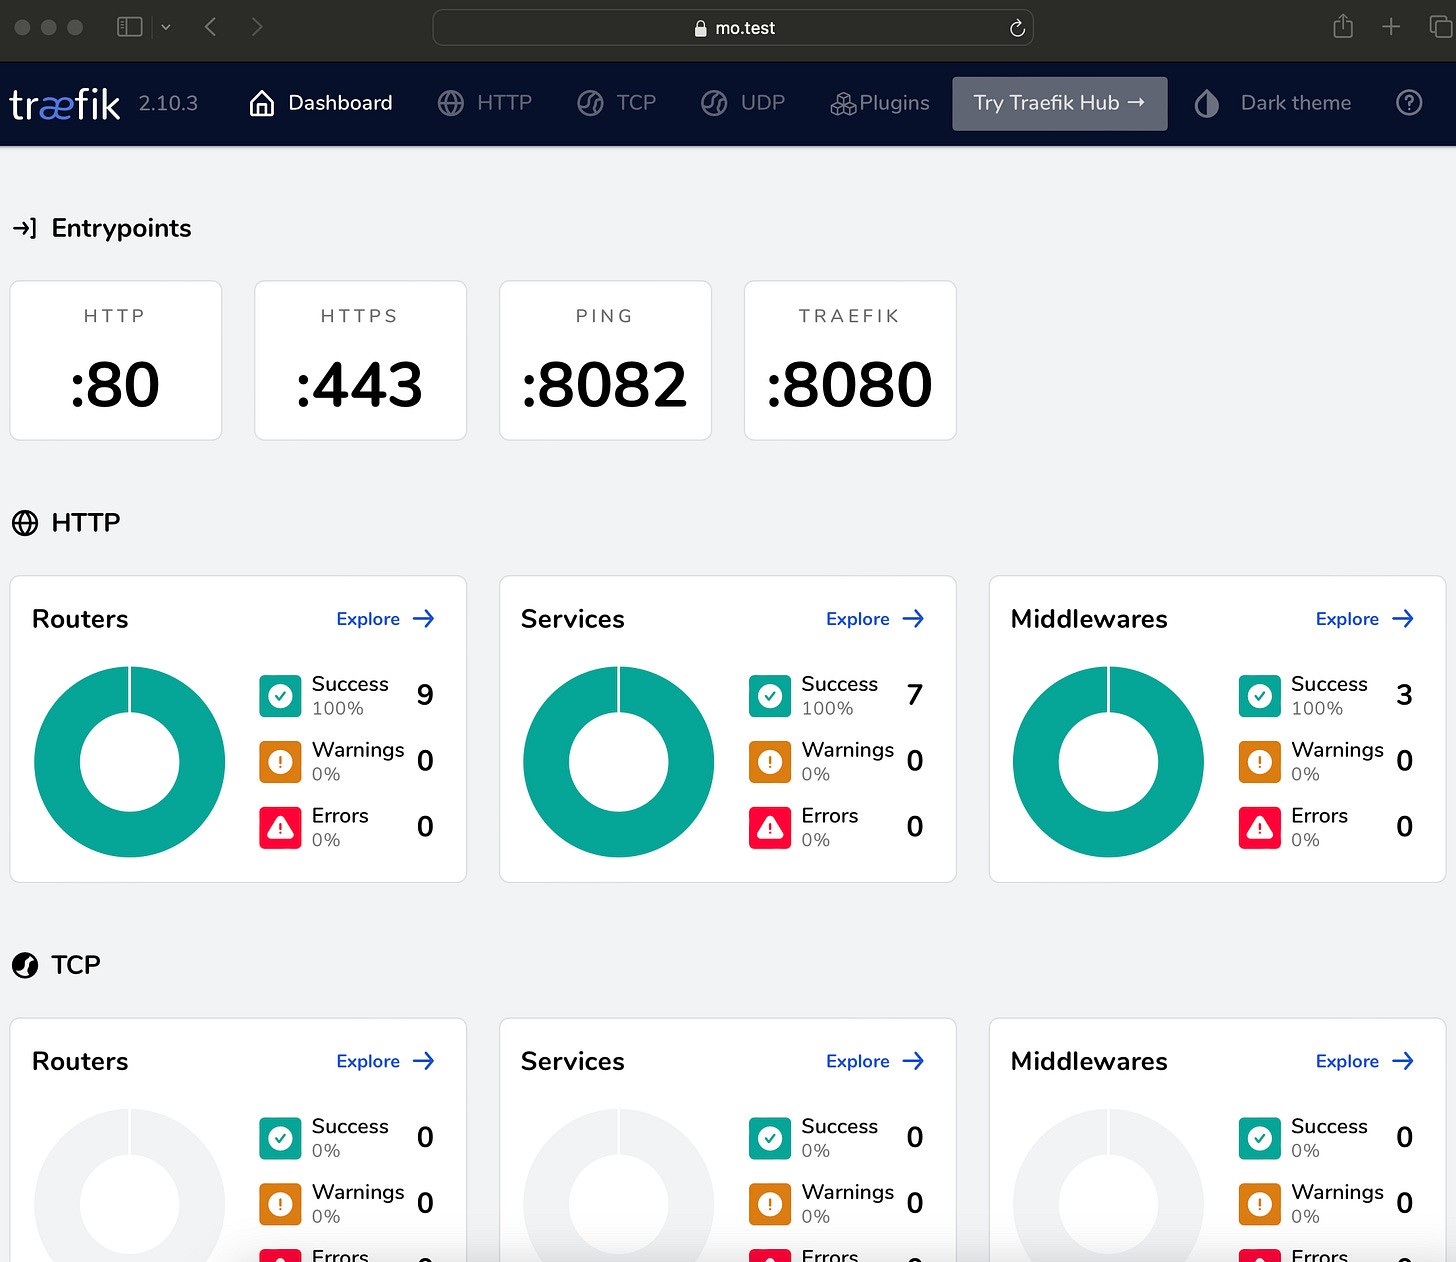
Check the Traefik dashboard to see the routes secured with TLS certificates.
Conclusion
To wrap up, implementing mTLS with Traefik effectively elevates the security of your network communications. This setup ensures that both clients and servers are authenticated, providing a higher level of trust and security in your connections. While it requires some initial setup, the enhanced security is well worth the effort. Remember, in a world where digital threats are ever-present, taking proactive steps to secure your network is not just a best practice—it's a necessity.
CODE: https://github.com/moabukar/playground/tree/main/traefik-mTLS


